Table of Contents
Introduction
As homeowners become increasingly aware of the importance of sustainability, the demand for eco-friendly construction materials is on the rise. One area where this shift is particularly prominent is in the construction of retaining walls. Eco-friendly retaining wall options not only enhance the aesthetic appeal of your landscape but also contribute positively to the environment. In this article, we will explore various eco-friendly materials such as reclaimed wood and recycled concrete, their benefits, and practical applications.
What Are Eco-Friendly Retaining Walls?
Eco-friendly retaining walls are structures made from sustainable materials that minimize environmental impact while providing the necessary support for soil and landscape. These walls can be constructed using a variety of materials, including:
- Reclaimed Wood: Sourced from old buildings or furniture, reclaimed wood gives a rustic charm while reducing deforestation.
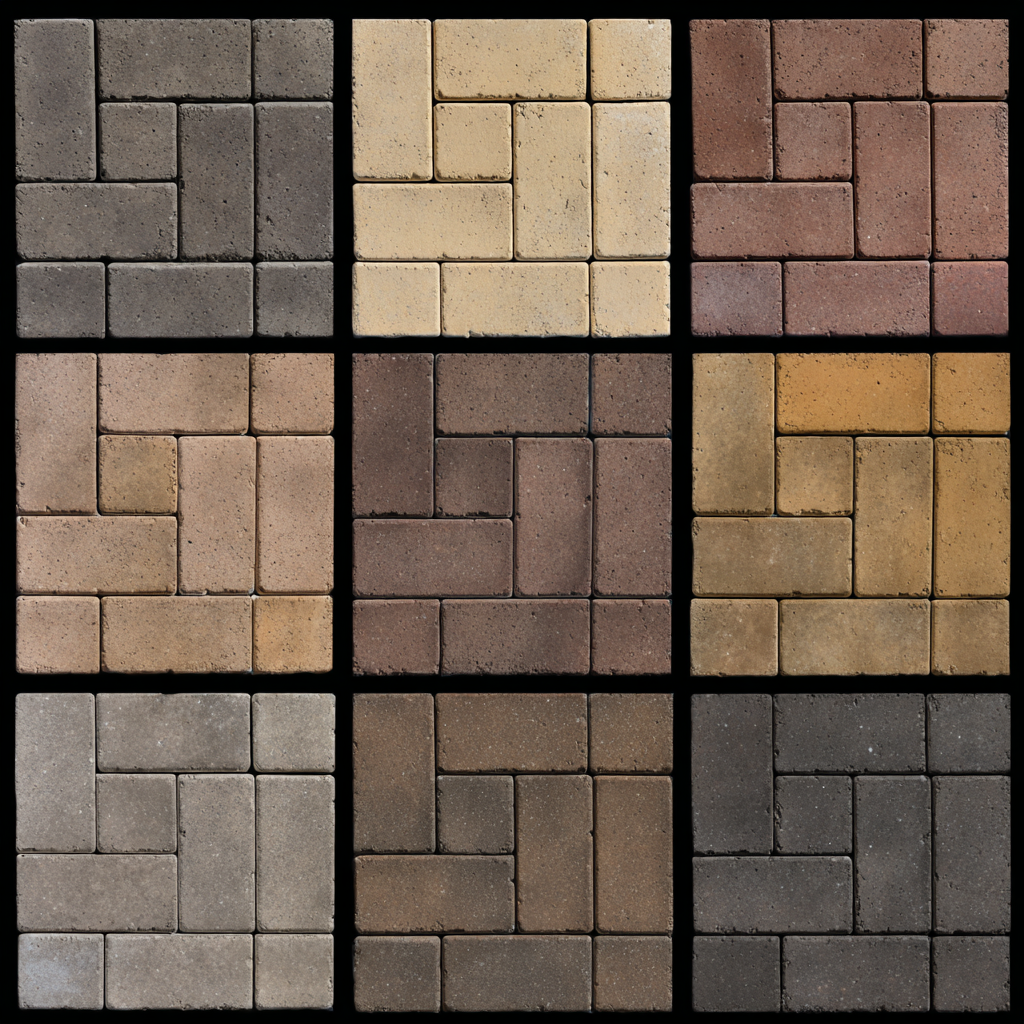
- Recycled Concrete: Made from crushed concrete waste, this material is not only strong but also diverts waste from landfills.
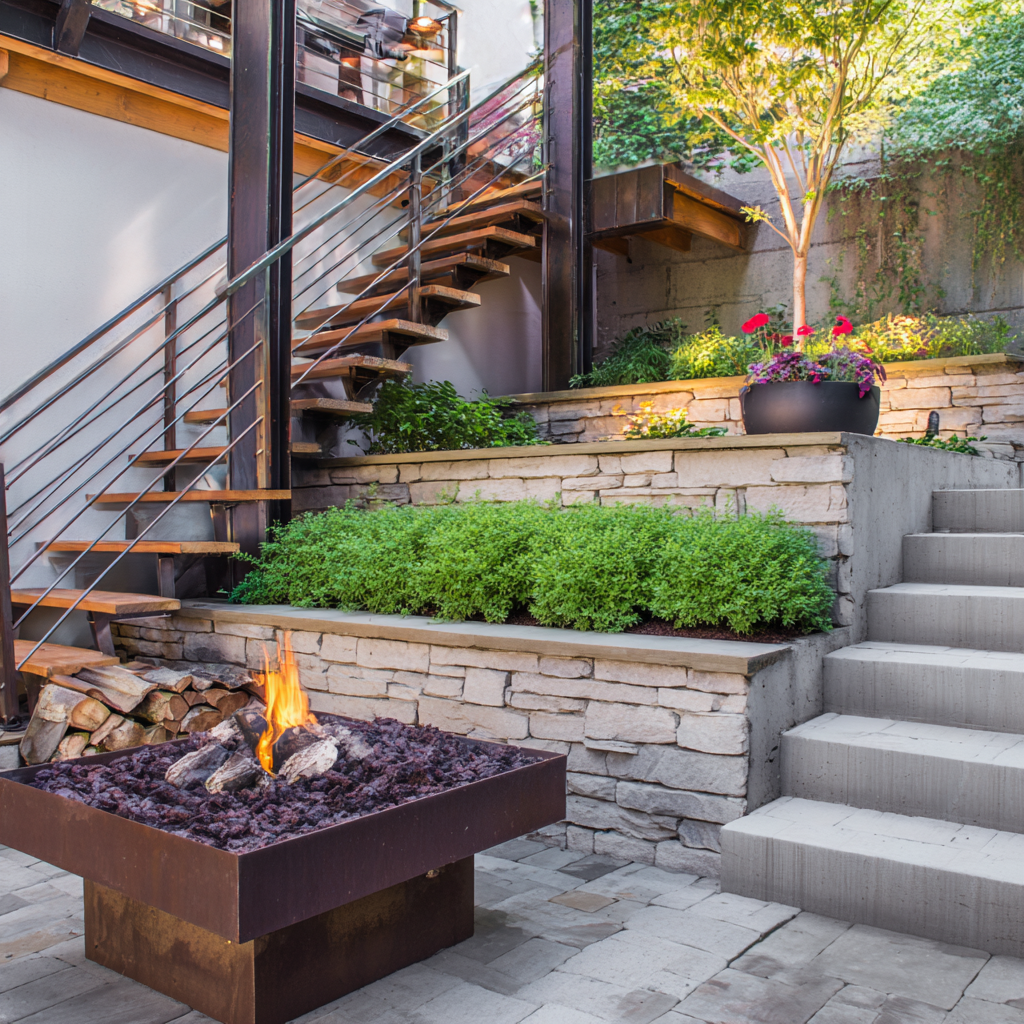
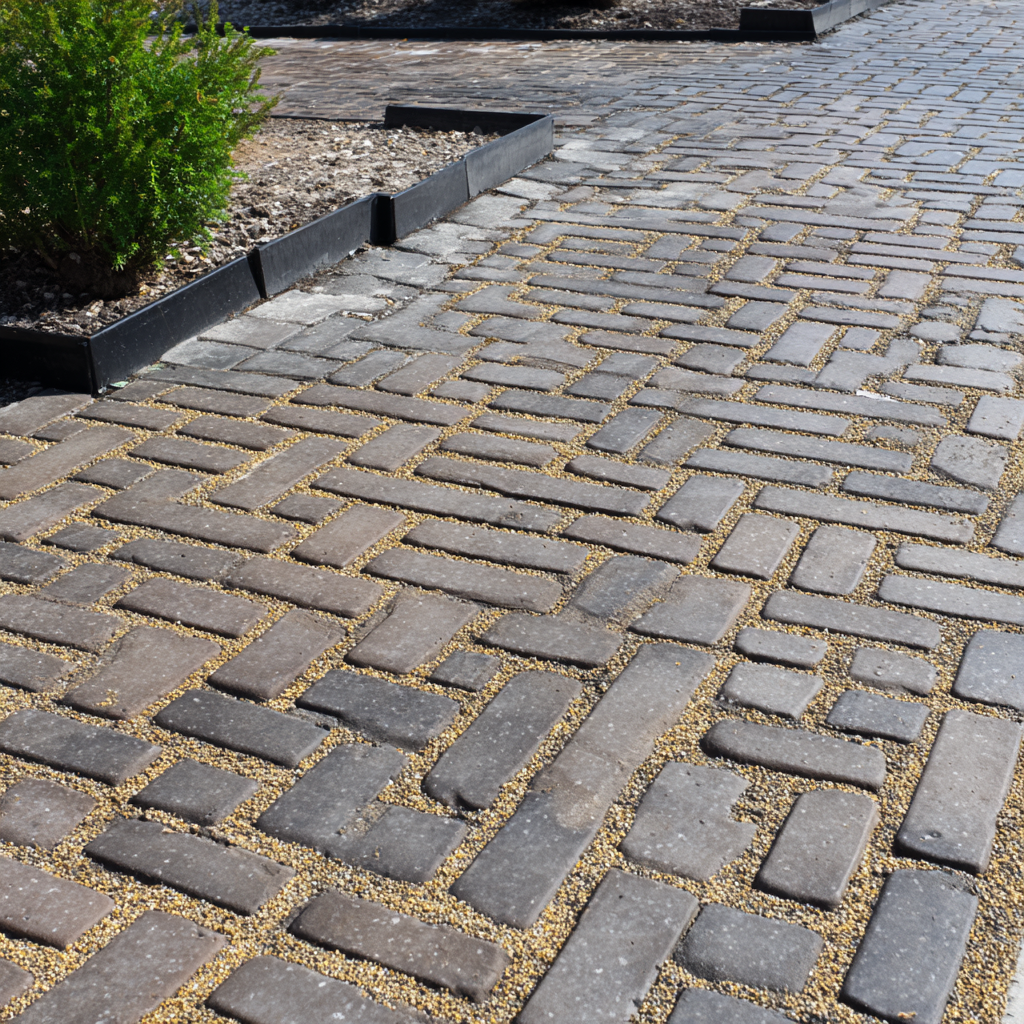
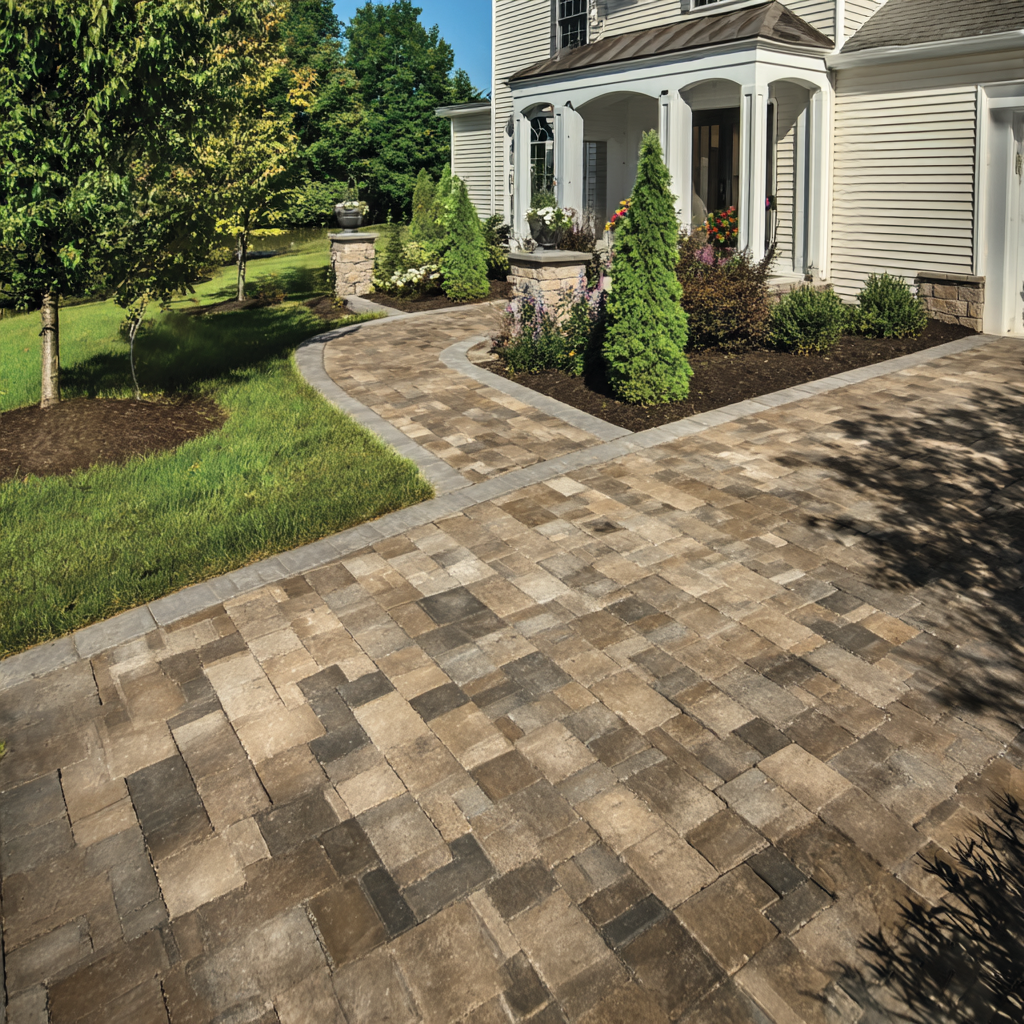
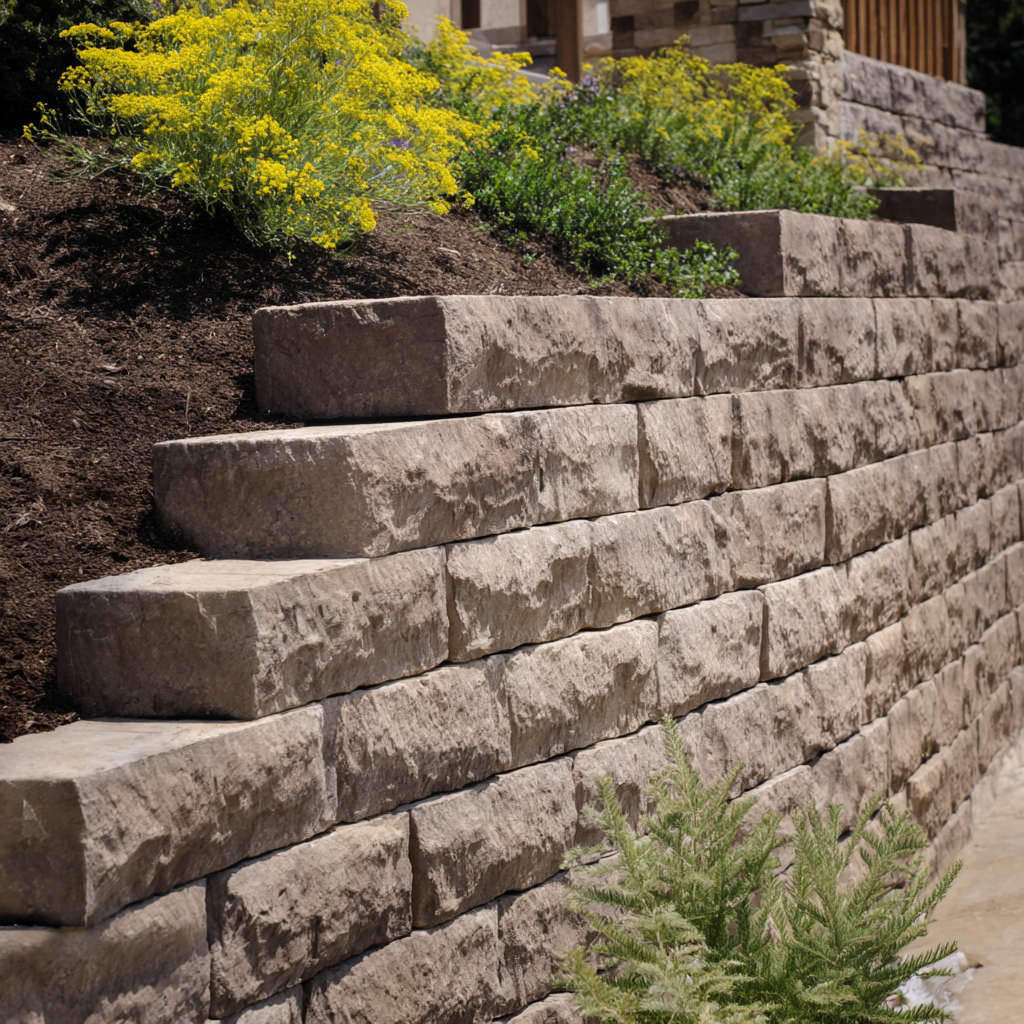
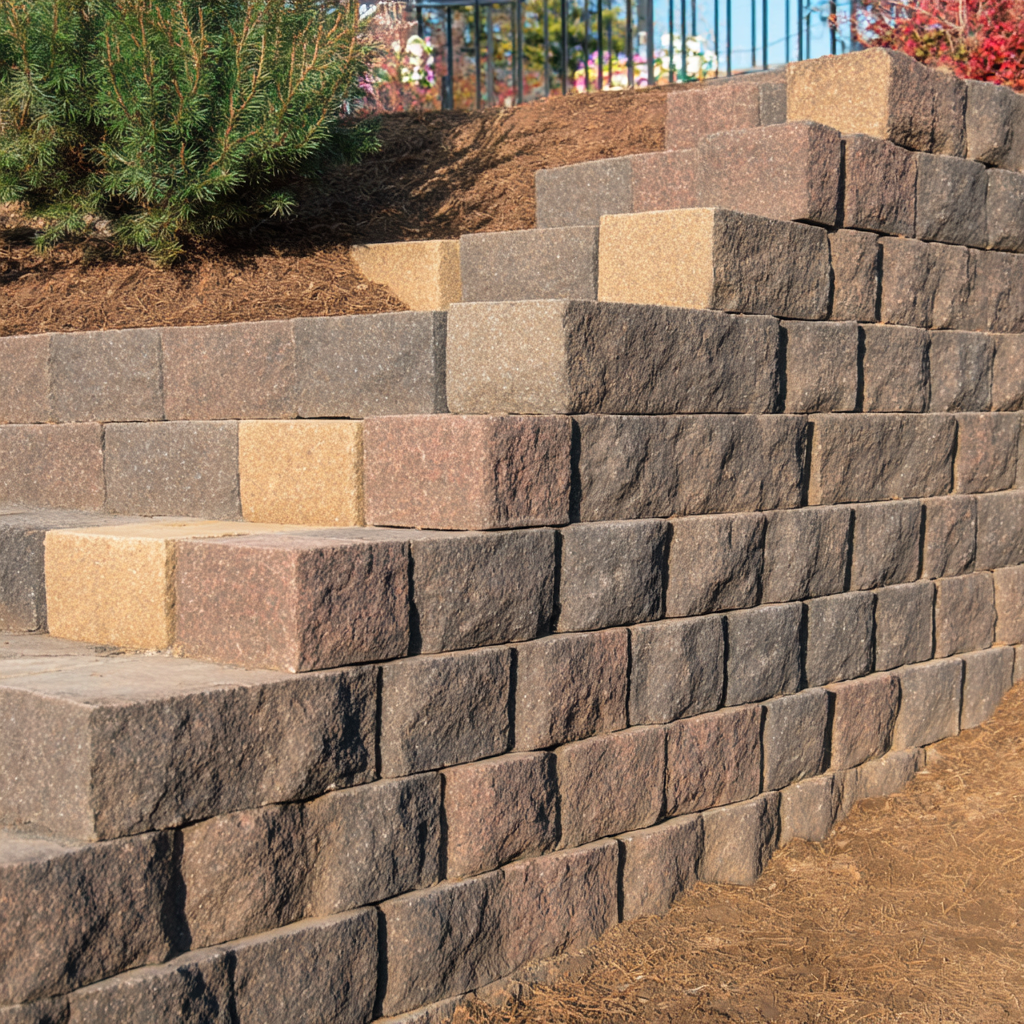
- Stone: Natural stones can be sourced sustainably and used in their raw form, requiring minimal processing.
These materials are chosen for their low environmental impact and their ability to blend seamlessly into natural landscapes.
Common Question: What makes a retaining wall eco-friendly?
Answer: An eco-friendly retaining wall is made from sustainable materials that have a lower carbon footprint and utilize recycling or repurposing processes.
Benefits of Using Eco-Friendly Materials
The benefits of incorporating eco-friendly materials in your retaining wall construction are numerous:
- Reduced Environmental Impact: By using sustainable materials, you help lower pollution and conserve natural resources.
- Cost Savings: Many eco-friendly options, such as recycled concrete, can be more affordable than traditional materials.
- Enhanced Aesthetic Appeal: Eco-friendly materials often have unique textures and colors that can enhance the beauty of your landscape.
- Increased Durability: Many sustainable materials are surprisingly durable, leading to lower maintenance costs over time.
These advantages make eco-friendly retaining walls a smart choice for homeowners seeking to beautify their properties while being responsible stewards of the environment.
Common Question: Are eco-friendly retaining walls more expensive?
Answer: While some eco-friendly materials may have a higher upfront cost, they often result in long-term savings due to lower maintenance and replacement needs.
Popular Eco-Friendly Materials
Here are some of the most popular eco-friendly materials used in retaining wall construction:
1. Reclaimed Wood
Reclaimed wood is sourced from old structures and provides a rustic, natural look. It is an excellent choice for homeowners looking for unique aesthetics while contributing to sustainability.
2. Recycled Concrete
Recycled concrete is created by crushing existing concrete structures, making it a strong and durable option. This material not only reduces waste but also offers cost savings.
3. Natural Stone
Natural stones can be sourced sustainably and require minimal processing. They offer a timeless look and exceptional durability.
4. Rammed Earth
Rammed earth walls are made by compacting a mixture of soil and other materials. This method is energy-efficient and offers excellent thermal properties.
5. Green Concrete
Green concrete incorporates recycled materials and has a lower carbon footprint compared to traditional concrete. It is strong and environmentally friendly.
Common Question: What materials are best for an eco-friendly retaining wall?
Answer: The best materials include reclaimed wood, recycled concrete, natural stone, rammed earth, and green concrete, all of which offer sustainability and durability.
Case Studies and Examples
Understanding how eco-friendly retaining walls have been successfully implemented can provide valuable insights:
Example 1: Reclaimed Wood Retaining Wall
A homeowner in Oregon used reclaimed wood from a local barn to create a stunning retaining wall that not only supported their garden but also preserved the local history.
Example 2: Recycled Concrete in Urban Landscapes
In an urban renewal project, a city used recycled concrete to create retaining walls in public parks, significantly reducing construction waste and enhancing green spaces.
Example 3: Natural Stone for Historic Properties
At a historic property in Virginia, natural stone was used for retaining walls to blend with the surrounding landscape while ensuring structural integrity.
Common Question: Can you provide examples of eco-friendly retaining walls?
Answer: Yes, examples include reclaimed wood walls in rural settings and recycled concrete walls in urban parks.
Cost-Benefit Analysis
| Material |
Initial Cost |
Durability |
Maintenance Cost |
| Reclaimed Wood |
Moderate |
10-20 years |
Low |
| Recycled Concrete |
Low |
50+ years |
Very Low |
| Natural Stone |
High |
Lifetime |
Very Low |
| Rammed Earth |
Moderate |
50+ years |
Low |
| Green Concrete |
Moderate |
50+ years |
Low |
This table illustrates the cost-effectiveness and durability of various eco-friendly materials, helping homeowners make informed decisions.
Common Question: How do the costs of eco-friendly materials compare?
Answer: Initial costs vary, but many eco-friendly materials, like recycled concrete, offer long-term savings due to low maintenance needs.
Common Questions
In this section, we address some frequently asked questions about eco-friendly retaining walls:
What is the lifespan of eco-friendly retaining walls?
The lifespan varies by material, with options like natural stone lasting a lifetime, while others like reclaimed wood may last 10-20 years.
Are eco-friendly materials more difficult to work with?
Not necessarily. Many eco-friendly materials are easy to work with, although some, like natural stone, may require more skill for installation.
Can I build an eco-friendly retaining wall myself?
Yes, many eco-friendly retaining wall options can be DIY projects, particularly those made from reclaimed wood or small stone.
Conclusion
In conclusion, choosing eco-friendly retaining wall options is a sustainable approach that not only enhances your landscape but also supports the environment. With materials like reclaimed wood and recycled concrete, you can create beautiful and functional retaining walls that stand the test of time. Embracing these eco-friendly solutions reflects a commitment to sustainability and responsible landscaping.
FAQs
What are the best eco-friendly materials for retaining walls?
The best materials include reclaimed wood, recycled concrete, natural stone, rammed earth, and green concrete.
How long do eco-friendly retaining walls last?
Lifespan varies by material, with natural stone lasting a lifetime and reclaimed wood lasting 10-20 years.
Are eco-friendly retaining walls more expensive?
While some may have higher upfront costs, they often result in long-term savings due to lower maintenance needs.


.png)