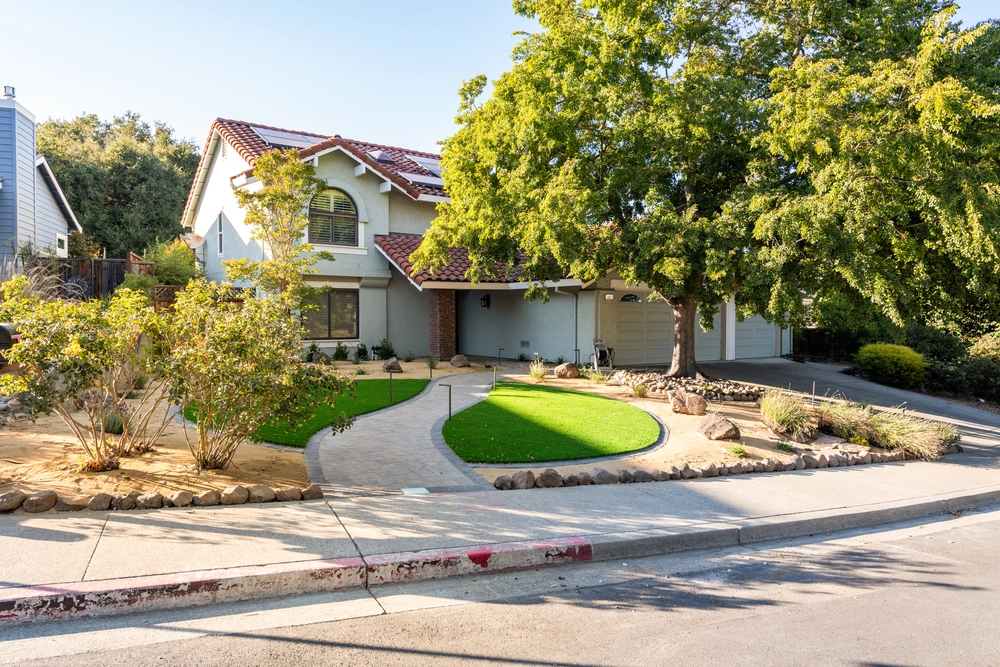
LEARN THE BEST TECHNIQUE FOR CLEANING PAVING STONES
Paving stones are the perfect material to create an elegant outdoor space. Whether it’s a permeable paver driveway, or an outdoor living space, walkways, or a pool surround, paving stones are durable, beautiful and can add value to your home. Paving stones are also easy to repair or replace, they are durable, slip and skid resistant, come in a variety of designs, colors, and materials, are environmentally friendly, and cost-effective. While pavers are a low-maintenance material that can last a lifetime, it’s important to keep them clean and properly cared for on a semi-regular basis. With a little work and the proper tools, you can keep your paving stones looking as good as the day they were installed. To keep your hardscape looking great you’ll need a non-toxic cleaner like Simple Green, a degreaser, a semi-soft bristle broom, and your garden hose.
CLEANING PREPARATION
To effectively clean your pavers and make it easier, start by removing any furniture, potted plants, your grill or any other things out of the way. Once everything is removed, sweep away the large debris like leaves, to prevent staining, and spray down the paved area with a high-pressure hose – not a power washer. This will help avoid a film or residue building up on the pavers after they have been cleaned. You don’t need to soak the paver, just spray them enough to remove any dirt and dust buildup that may have collected.
Get Your Free Paver Installation Estimate!
Once you have the large debris cleared, and the dust and dirt hosed off, it’s time to clean your paver surface.
PROPERLY CLEANING YOUR PAVING STONES
Now it’s time to start cleaning! If you’re using a non-toxic cleaner like Simple Green, mix a bucket using a 1:1 ratio with water and detergent. Find a secluded section of your paver area to spot test the cleaner to make sure it doesn’t stain your pavers before cleaning the entire surface.
If your paver passes the test, pour the entire solution over the pavers and let it sit for 1 or 2 minutes. If your pavers are particularly dirty, lightly scrub the surface using a push broom. If your pavers are cleaner, simply rinse them. If you do use a push broom, scrub lightly to keep from disrupting the joint sand, and make sure to scrub in different directions. Lightly scrubbing can prevent you from damaging pavers. When you’ve scrubbed the entire area, spray down your patio with a hose and let dry.
STABILIZING AND SEALING
Periodically, after you clean your pavers you may want to take a little extra time to seal and stabilize your paving stones. These are two different processes that will overlap each other and can benefit your paved areas over the long-term. Joint sand stabilization consists of adding sand into joints where it may have washed away, or blown away. By replacing lost sand between pavers you can secure the sand in the joints using polymeric sand which will harden into place by wetting it after it is installed. This will help to deter weed growth, as well as minimize sand migration.
Sealing your pavers can happen anytime after they are initially installed. Sealer should then be re-applied every 1 to 3 years depending on use. Sealing can add life to your paving stones by deterring staining, as well as enhance the depth and longevity of the paver color. Make sure to thoroughly clean the stones as described above and let the dry completely before applying sealer. You can use water, solvent or acrylic sealers to give your pavers a matte or wet look depending on your preference.
REMOVING TOUGH STAINS LIKE MOLD AND ALGAE
In some instances, you may experience some tougher staining, for example from mold or algae. This can typically occur in damp areas, like locations that experience a lot of rain, or on pool decking or other areas that are frequently wet.
Mold can not only be a nuisance, but it can also be a potential health hazard. Mold spores can cause a number of symptoms including shortness of breath, sinus congestions, coughing, itchy eyes, and increase the severity of asthma attacks.
Of course, there is a big difference between common mold and toxic black mold. If you believe that you have black mold growing on your paving stones, call a professional mold removal expert. If it is a more common form of mold or algae, the following tips can help you to safely clean your paving stones and restore them to their previous glory!
Pre-clean the area as described above. Sweep, hose the area down and let it dry. When cleaning the area, remove as much of the mold or algae as possible by scrubbing with your push broom. If it is particularly stubborn, lightly scrape the area with a plastic scraper to loosen it as much as possible.
If you just have a little mold or algae, the first two steps may be enough. If not a pressure washer is effective. If you do pressure wash your patio area, you will need to replace the joint sand after cleaning.
If pressure washing does not completely clean the area, use a mixture of white vinegar and water, or bleach (1 cup bleach to 1-gallon water) and water to spray the area. Let this mixture sit on the pavers for a few minutes, then use a deck brush or push broom to address stubborn spots. Finally, spray down the area thoroughly with your hose.
If you use the bleach or vinegar method, make sure to apply the solution carefully. It can kill grass and plants so make sure when you hose the area down to be extremely thorough. Whenever you use any type of cleaning product, including detergent, bleach, vinegar, sealer, or de-scalers to dress properly for safety. This includes rubber gloves, a mask, and eye protection.
Your paving stones when properly cared for can give you a lifetime of service. Taking simple preventative maintenance measures can keep your patio, driveway, walkways, and pool surround looking as good as the day it was installed, for decades!
If you’re not sure where to start or have any questions about the best way to maintain your hardscape, and you live in the greater San Francisco Bay area, give the experts at Bayside Paving a call at 1-(866) 287-2837. Our knowledgeable team members are ready to answer your questions and help you create the outdoor living space you’ve been dreaming about!
If you live in the East Bay, stop by our Concord, CA, location at 2455 Bates Ave, Ste K, to see the products we offer and schedule a free estimate.
LEARN MORE ABOUT PAVER INSTALLATION
How Hardscaping and Patios Add To The Value of Your Bay Area Home
Design Mistakes To Avoid When Hardscaping with Concrete Pavers

